How should your LED be mounted?
How to mount the WoodUpp LED Striplight
WoodUpp’s LED lighting solution installation guide
Our LED Striplight are designed in Denmark
Installation of our LED Striplight:
Watch the following videos for step by step guides of how our product can be installed.
Technical Specifications:
- Light Output: 3000 Kelvin, providing a nice, bright light.
- Power Consumption: Each strip consumes 20 watts. A 60-watt driver can support up to three strips.
- Length: Each strip is a maximum of 240 cm, with adjustable lengths based on your needs.
- Safety Features: Includes a safety switch in case of overheating, ensuring safe operation.
- Smart Home Support: Connects with Phillips Hue for automation and scene control, and supports Google Home and Alexa in the US.
Product Information:
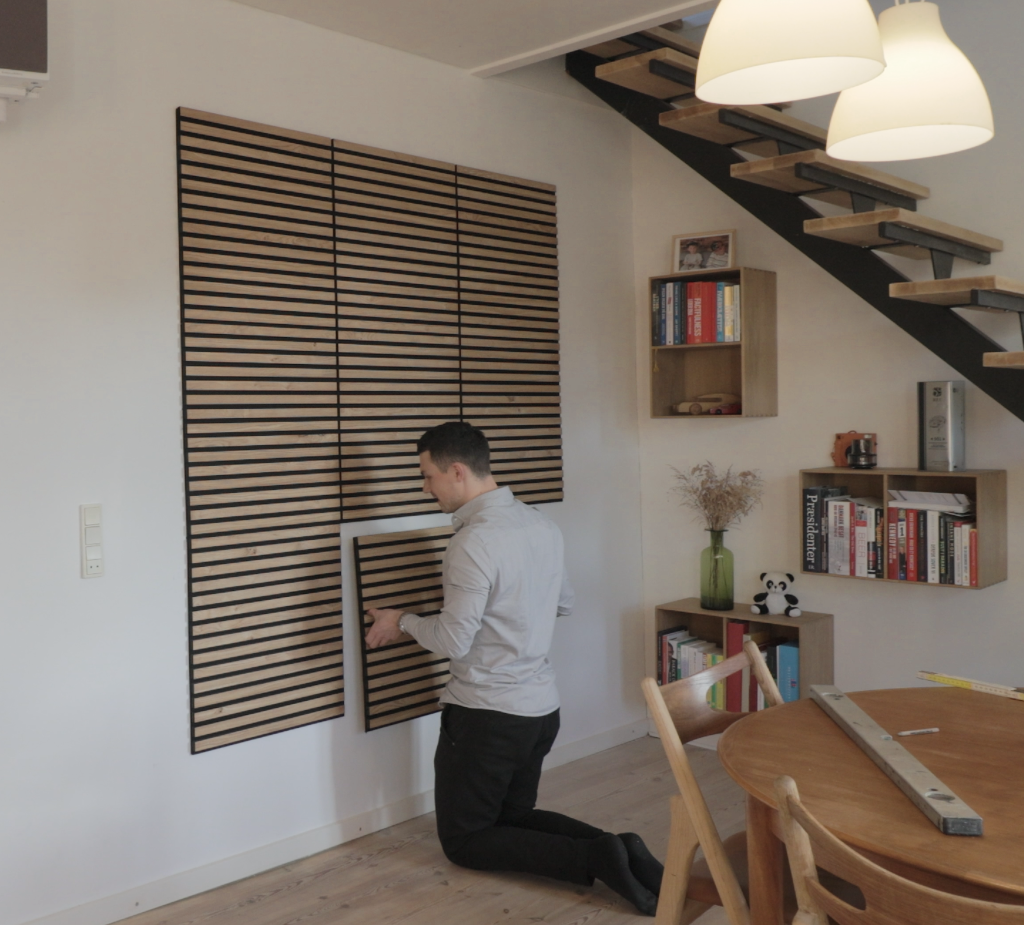
Our professional LED lights have been developed with an overall simplicity in focus. The WoodUpp LED Lighting solution is a “plug and play solution”, and the consumer needs no tools for installation. Seamlessly integrate lighting with existing smart home systems like Philips Hue, Google Home, and Alexa.
All contents are CE certified.
We use high-quality LEDs that provide bright, consistent light at 3000 Kelvin. This ensures both a pleasant and uniform lighting experience.
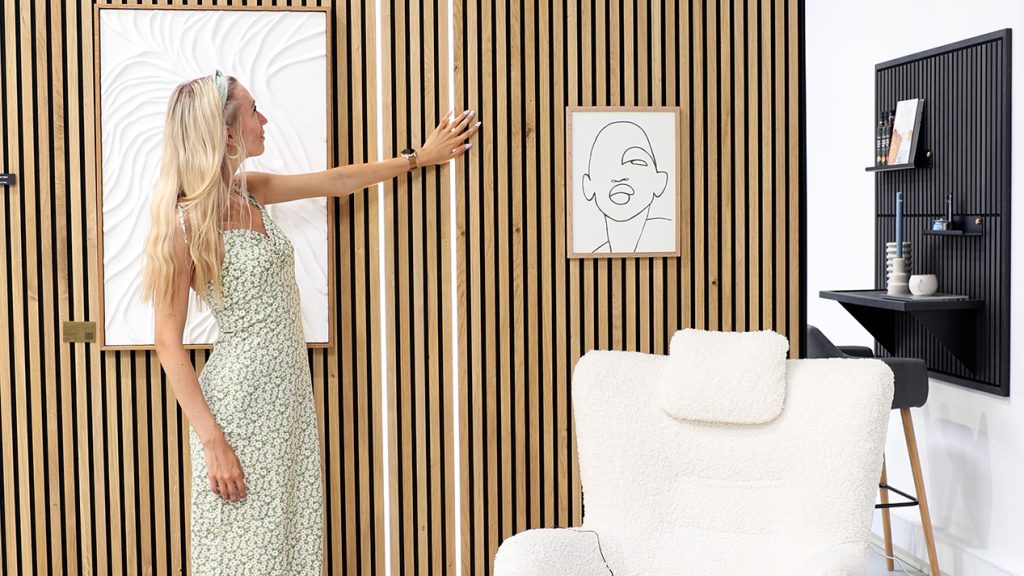
Our LEDs are designed to be invisible when turned off, maintaining the sleek and seamless look of your Akupanels at all times.
Avoid Overheating: Do not install the LED strips behind the panels to prevent the driver from overheating.
Cutting the LED
Installation guide of how to cut your LED strip:
Watch the following video for a step by step guide of how to cut the LED strips.
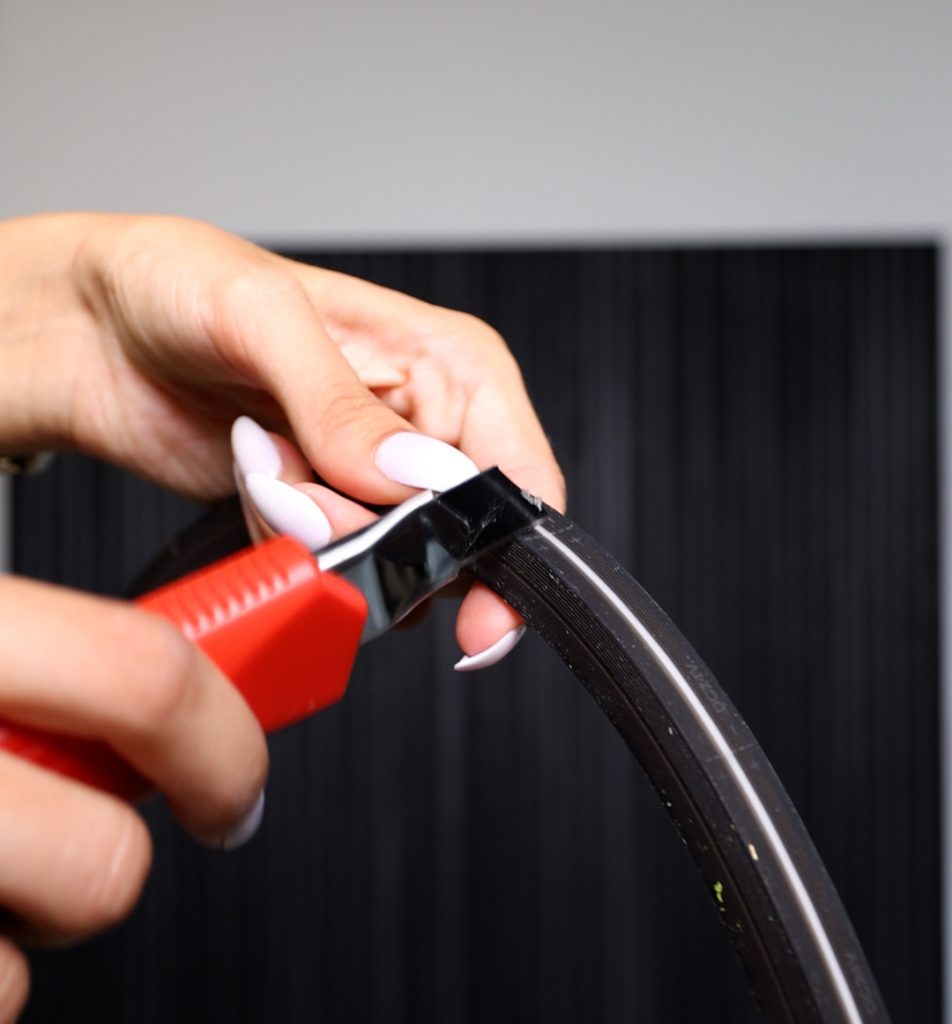
Cut your LED’s in length with a knife by the cutting lines on the back of the LED strip. When the strip has been cut insert the end cap. You are now finally ready to mount your LED strip into your wall.
Connect Remote to LED
How to connect the remote control to LED setup:
Watch the following video for a step by step guide of connecting your remote control.
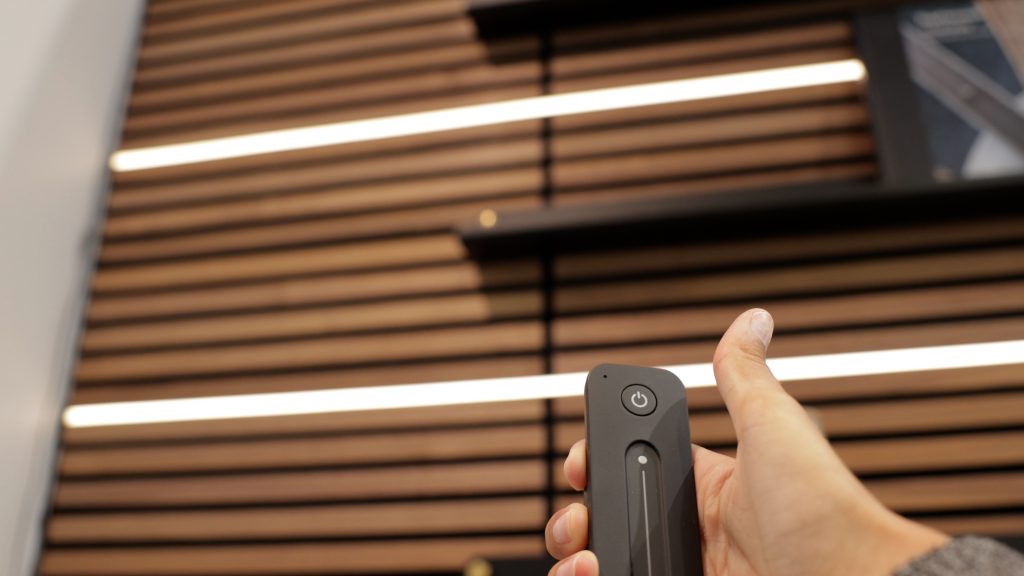
Remote package contains:
- 1 pc. remote control
- 1 box w. WoodUpp Zink bracket
- 1 bag w. 2 phillips screws (M5-10mm) for use in mounting the backplate for the holder on the remote control of your zinc bracket.
Connect by clicking the connection button on the driver once. The light on the driver will blink, and it’s now ready to connect a remote. Click the “on” button on the remote control once. The connection has now been made.
Connect to Philips Hue
How to connect your LED setup to your Philips Hue system:
Watch the following video for a step by step guide of connection to your Philips Hue system.
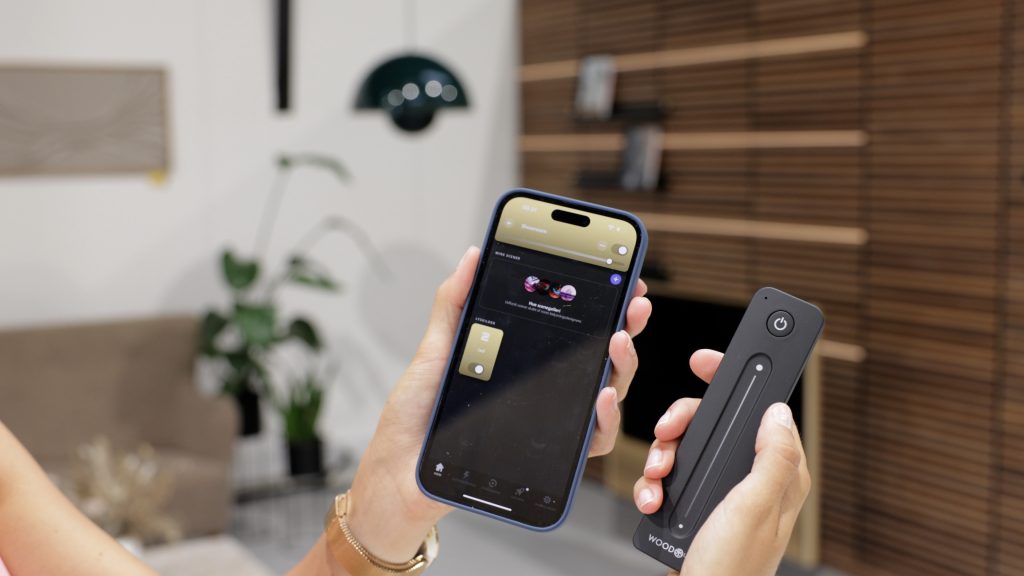
Important when connecting your LED strips to your Philips Hue system:
You need the following to make your LED system work with Philips Hue:
- Philips Hue app
- Philips Hue Bridge
You can ONLY connect to a Philips Hue system with a Philips Hue Bridge. If you don’t have a Bridge, the LED lights won’t show up in the app when trying to connect.
Open your Philips Hue app and go to “add new light sources”. Connect the LED’s by holding in the driver button in about 8 seconds, then the light will start flickering, and the LED strips will blink as well. The new light source should be ready for configuration right away.

Are things not going as planned? We are here for you if you need help.
Call us
Send us an email
Business hours
Monday to Friday: 8.30am-16.30pm
Saturday & Sunday CLOSED


