Installation on walls with glue
How should your Akupanel | 60 mounted?
You will need this:
To install the panels, you need the following:
- A saw – either a circular saw or a regular handsaw if the panels need to be trimmed.
- Possibly small screws of about 15mm for securing the slats when trimming the panels.
- A glue dispenser.
- Glue tube (about ½ tube per panel).
- Ruler/tape measure.
- Pencil.
Step 1: Prepare the wall
Start by preparing the wall. Wipe the wall with a cloth and remove any screws, nails, and other obstructions so that the wall is completely even. Then you can measure and mark where the panels are to be mounted.
Step 2: Choose the direction of the panels
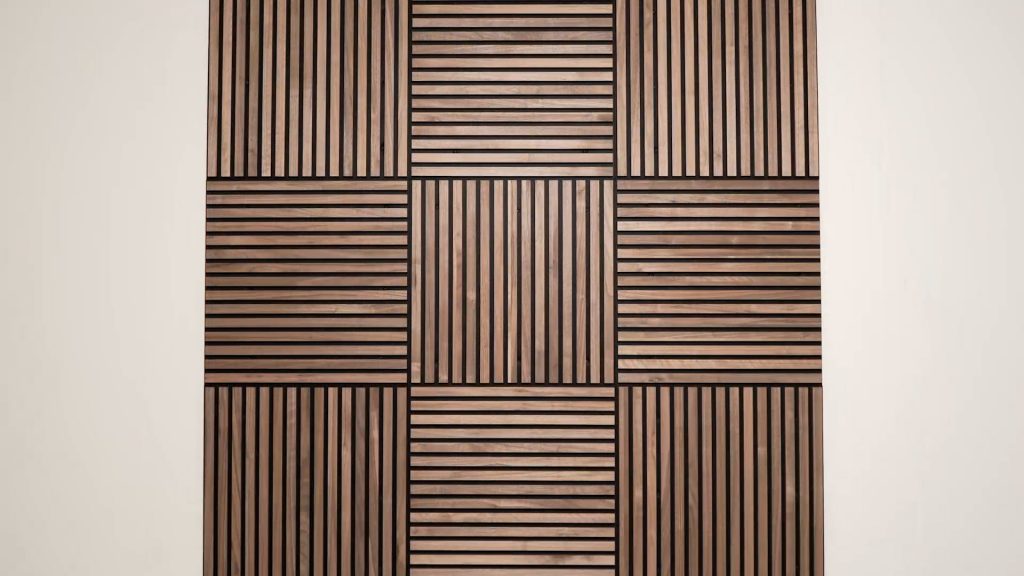
The next step is to decide the direction in which your panels should face. With our Akupanel | 60, it is possible to rotate the panels to create either clear horizontal or vertical stripes on your wall.
If you want the stripes to be horizontal, make sure to rotate the panel so that the slats are facing upwards. If you want the stripes to be vertical, the slats should face horizontally.
Step 3: Measuring the Wall
After you have chosen the direction of your panels, you can measure the wall and mark where the first panel will be installed.
Step 4: Mounting the panels with adhesive
Start by cutting the top of the glue tube and insert it into the glue dispenser. Then evenly distribute the adhesive on the felt on the back of a panel.
You are now ready to mount the panels. Pay attention to the chosen direction of the panel when mounting – the felt and slats should face the desired direction. Place the panel against the wall in the marked area. Press the panel against the wall across its entire surface so that the adhesive spreads well and adheres. Within 20-30 seconds, the glue will secure the panel to the wall without further support needed. Check if the panel is mounted straight using a spirit level as you go.
Step 5: Add end-lamellas
You can use end-lamellas to make a nice frame around the panels to achieve a clean and polished finish. Meter cut the corners with a docking saw to the desired length. Use adhesive to install the end-lammelas.
Now you are done!

Are things not going as planned? We are here for you if you need help.
Call us
Send us an email
Business hours
Monday to Friday: 8.30am-16.30pm
Saturday & Sunday CLOSED