
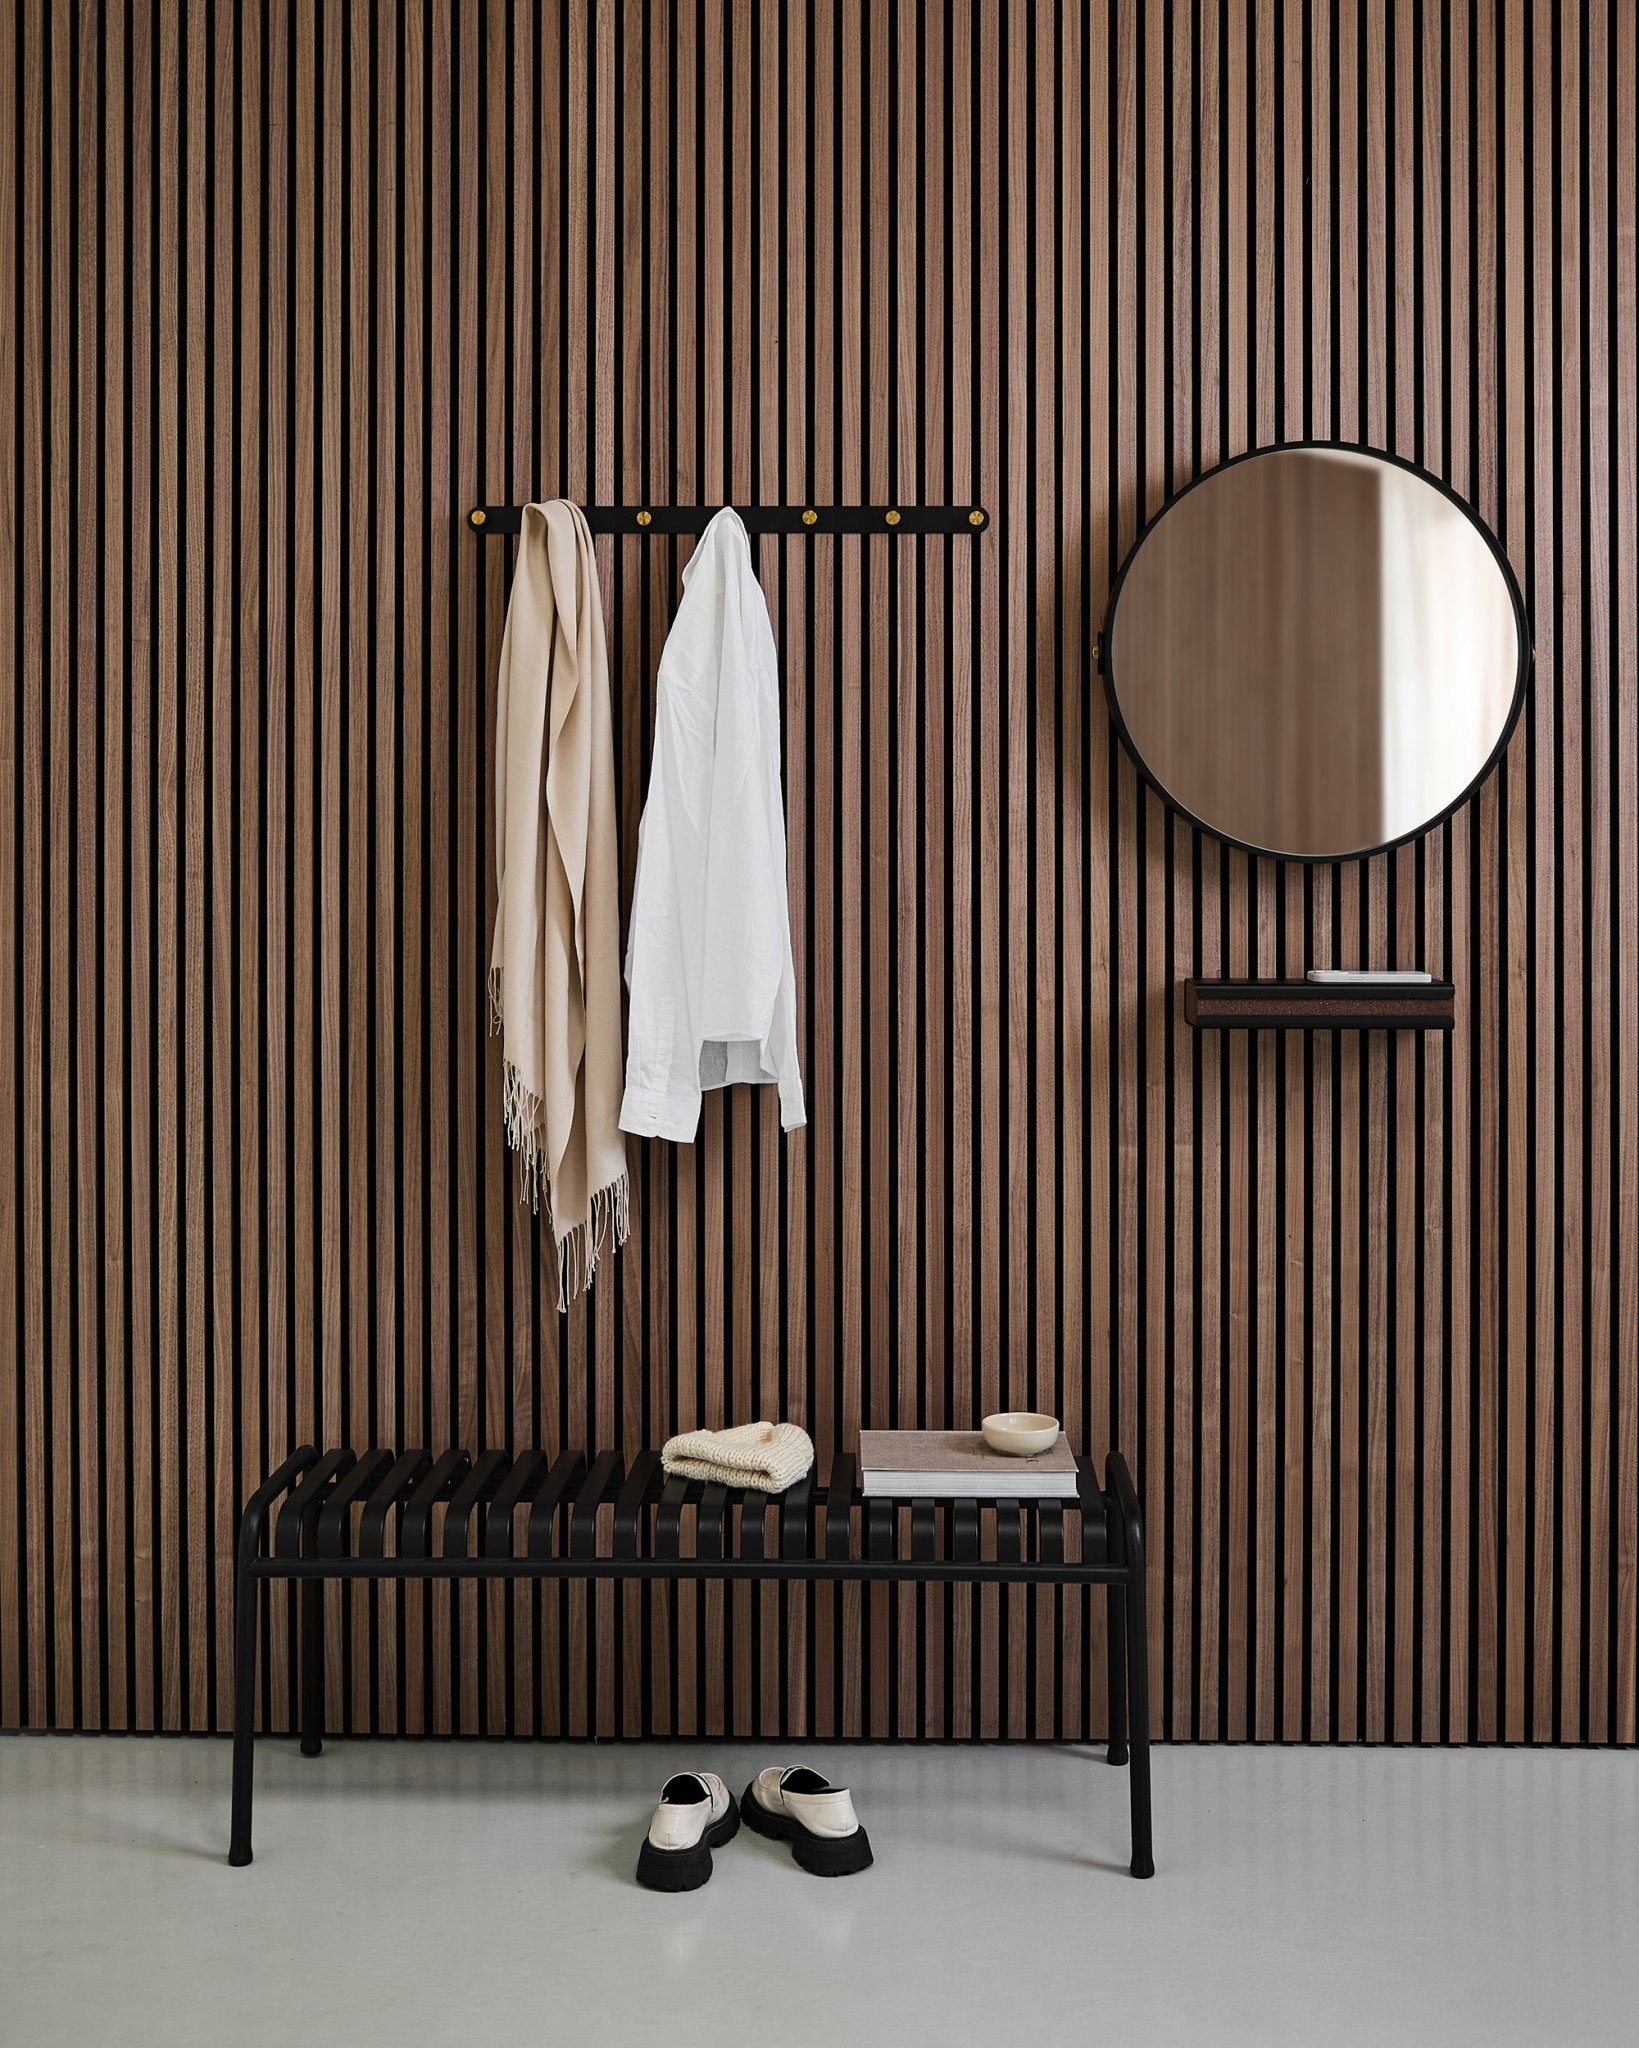
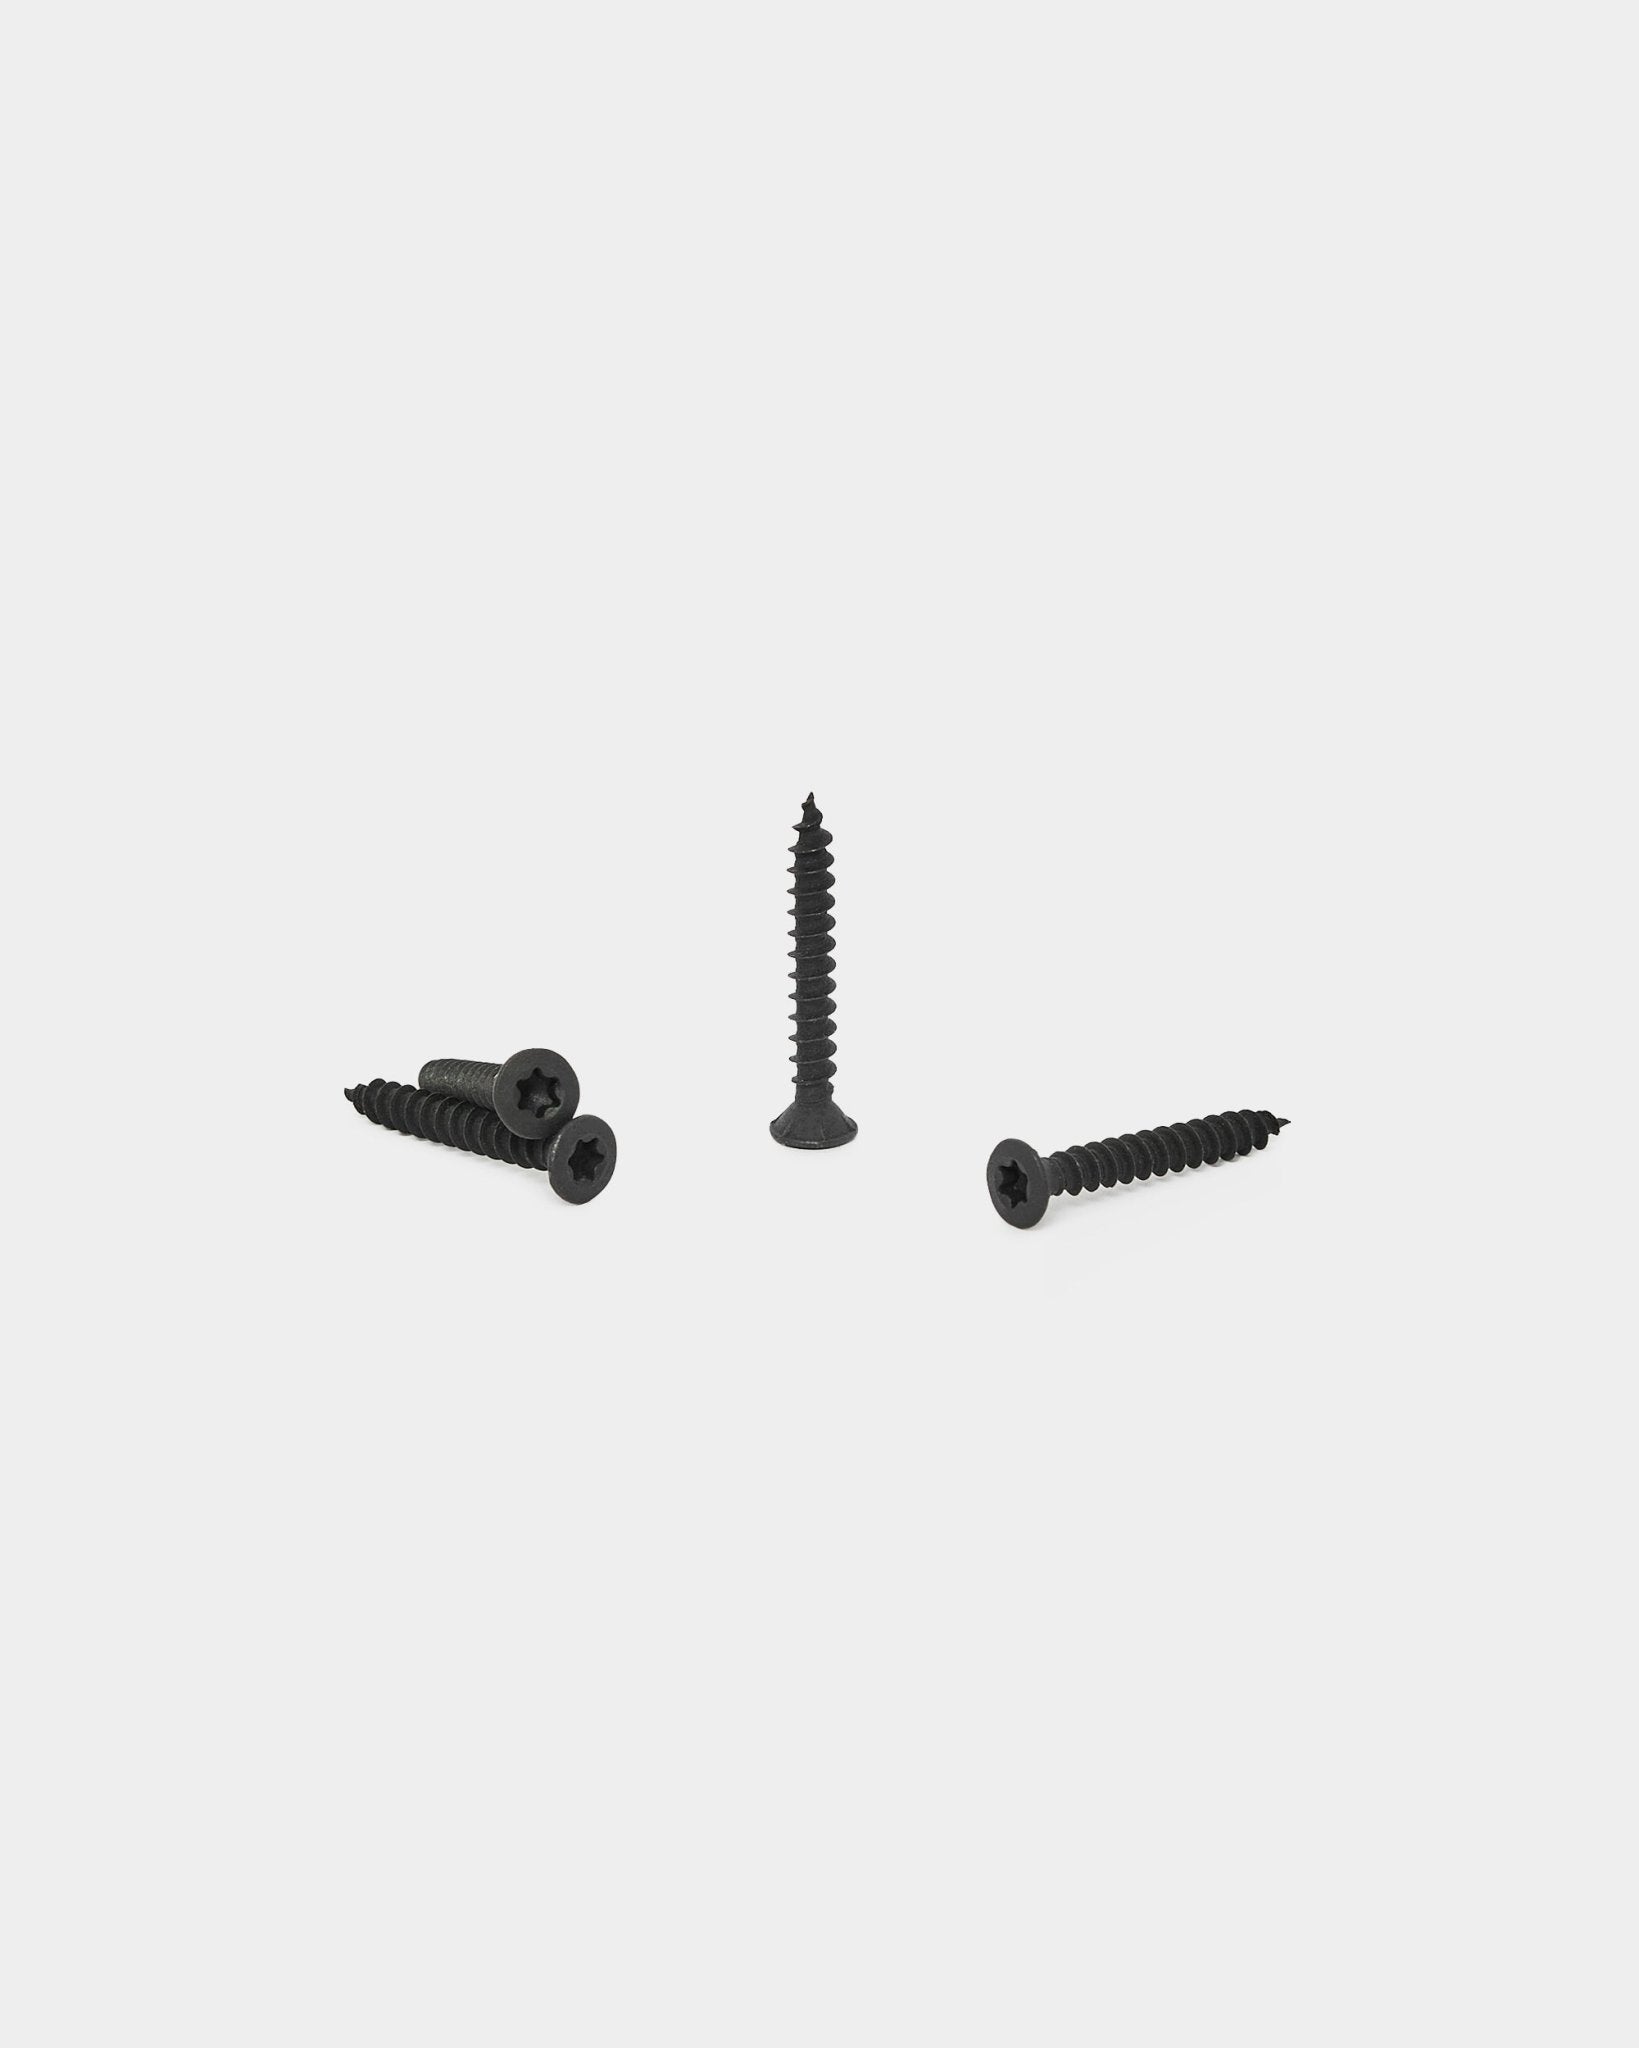
Installation Products | Screws
Black, 100 pcs.
Incl. VAT, plus shipping

Related products
Black, 100 pcs.
Incl. VAT, plus shipping

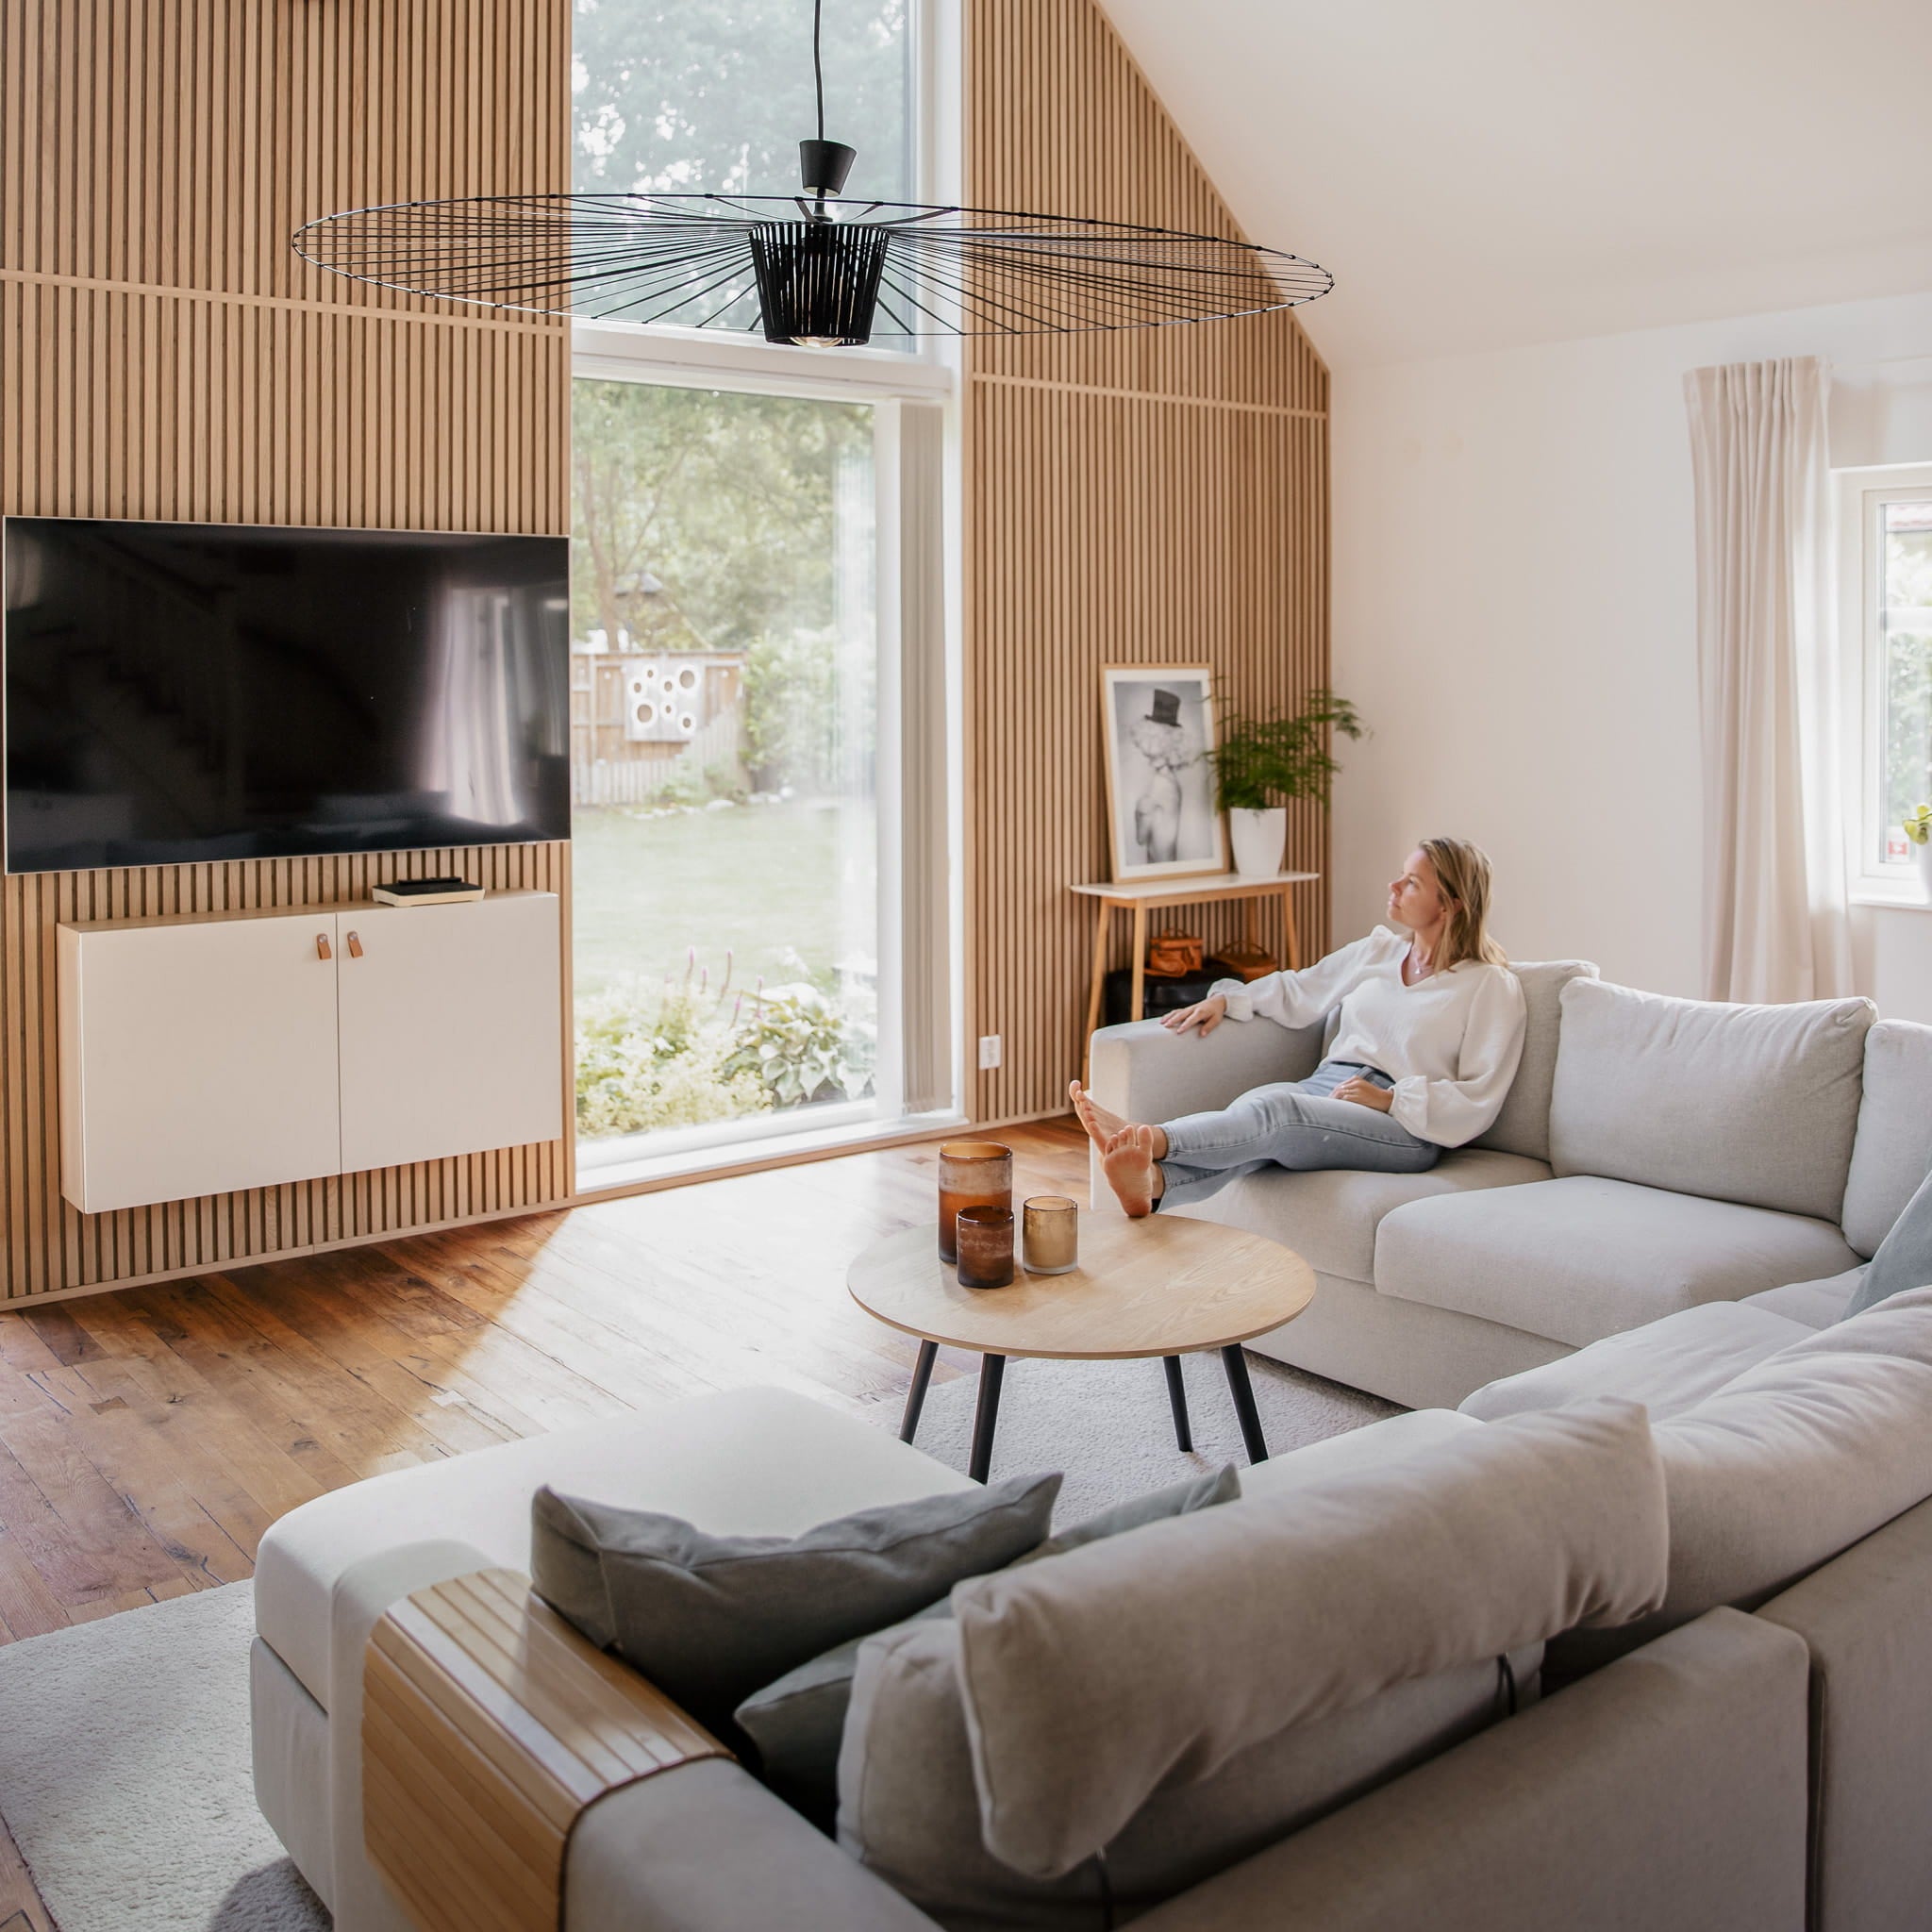
Natural Wood, Classic Oak, 240 x 2,2 cm
Incl. VAT, plus shipping

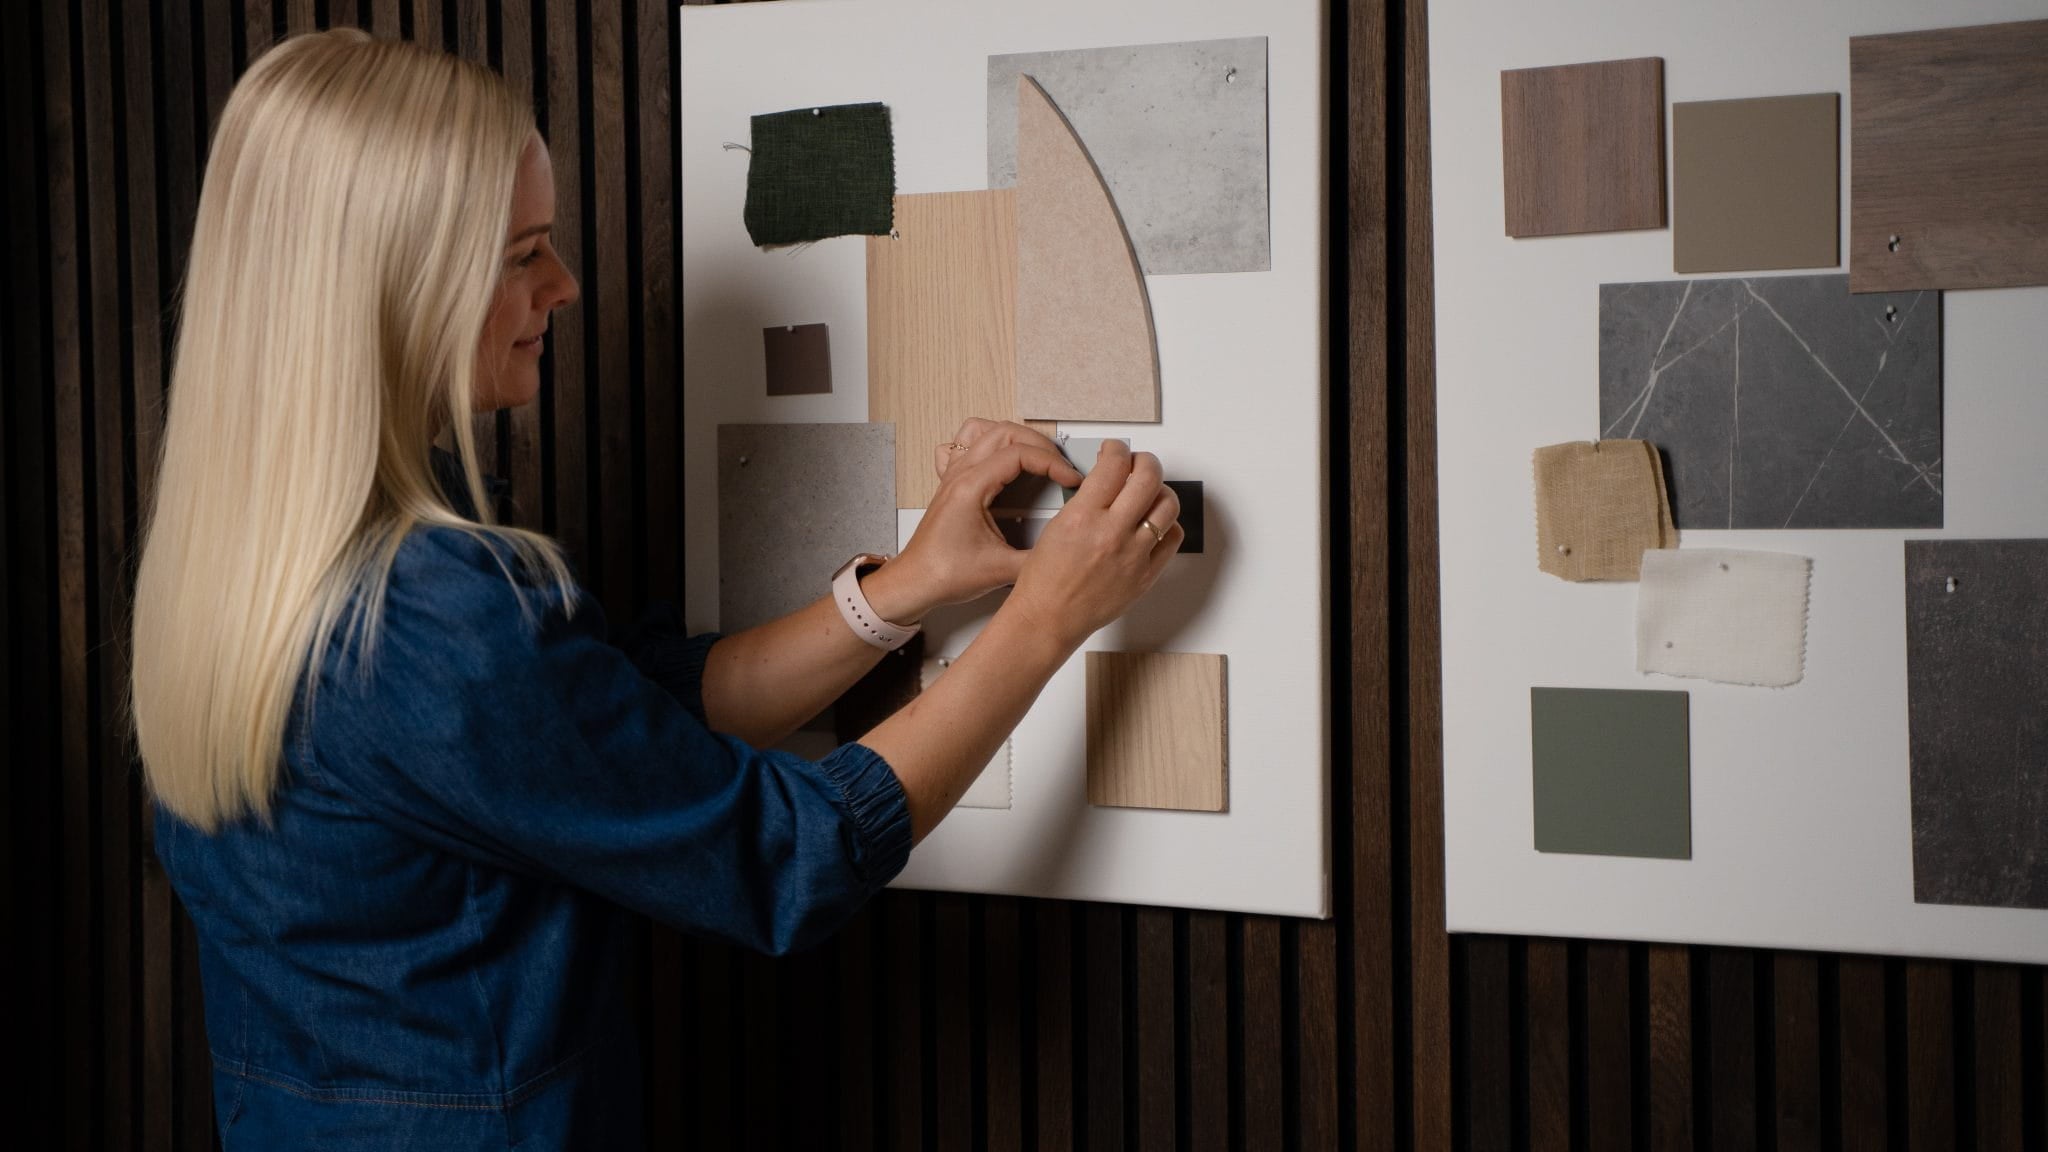
Natural Wood, Classic Oak, 240 x 6,7 cm
Incl. VAT, plus shipping

Incl. VAT, plus shipping

Incl. VAT, plus shipping


